

WordPress has been leading the CMS race for about a decade. At present, it powers more than 40% of all websites on the Internet. With the introduction of several new features, it has now become a major tool in the NoCode software development platforms. Not just websites but any type of web-based app including progressive web apps can now be built using WordPress.
Due to such limitless possibilities that it has, designers, developers, and other creative individuals love to build apps and websites using WordPress. One of the easiest ways to get started with building with WordPress with no investment would be to install it on your laptop locally and create the app. Once you’re happy with what you’ve created, you can easily upload it to an actual web server for live deployment.
A few years ago this used to be a task that required a lot of installation and a series of complicated technical work but thanks to tools like LocalWP, this process now contains just a few clicks and barely takes a few minutes.
To start the installation process, you first need to go to the official website of LocalWP to download it. LocalWP is available for Mac, Windows, and Linux.
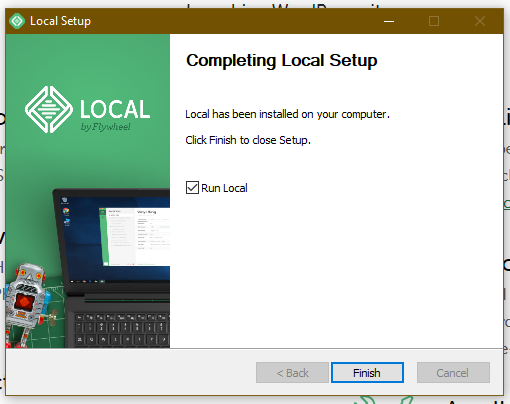
Once you’ve downloaded it, proceed to installation which is quite a straightforward process. After the installation is over, it will prompt you to start the service.
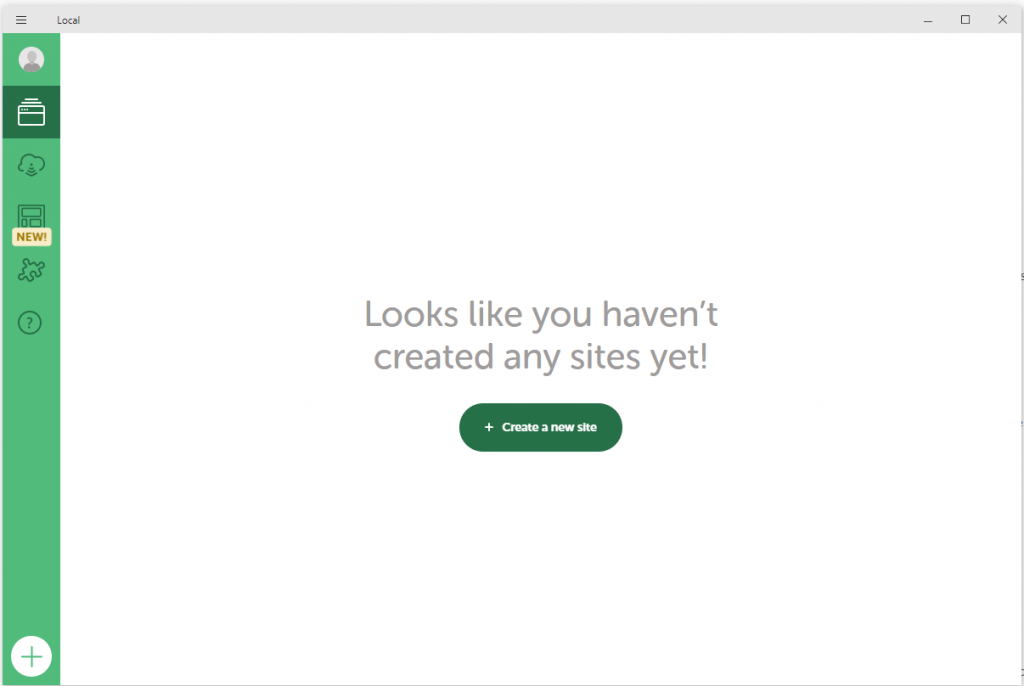
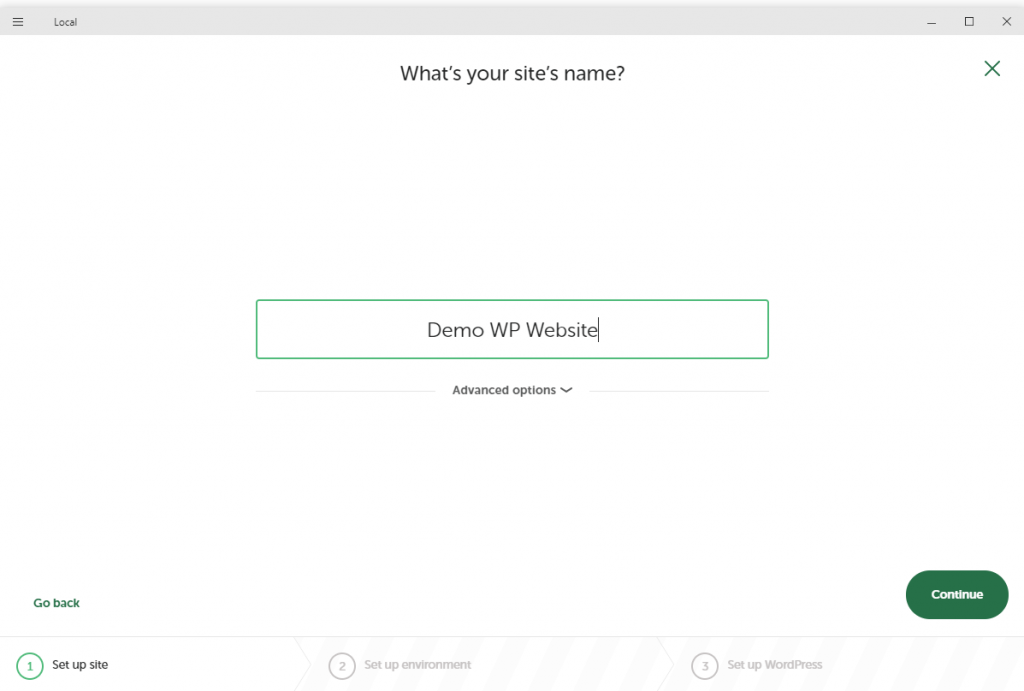
Once you start LocalWP, you will see the following screen where you can click the ‘create website’ button to create a WordPress website. Name it as per your choice.
Once you’ve given it a name, the next screen will ask you if you need a ‘preferred’ or a ‘custom’ environment. By default, preferred should be selected which is recommended by default.

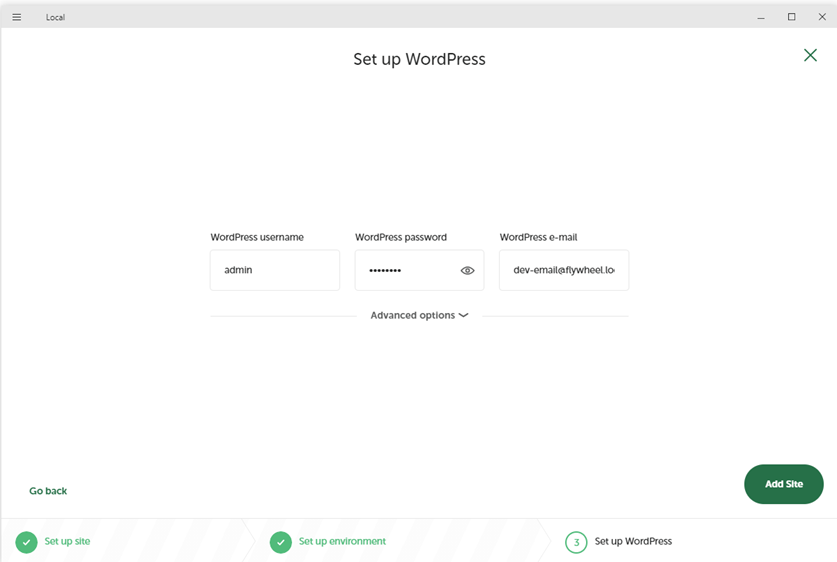
The final step would be to select a username and password for your WordPress installation. Assuming that you are creating this website for experimentation purposes you can keep any username/password as this installation is not going to be public-facing and will remain locally installed on your laptop. However, if you plan to build a full-fledged project which you eventually plan to take live by uploading to a real web server, it is strongly recommended to choose a strong username/password combination.
Then click on Add Site button to proceed to the next screen.
LocalWP will now take a few seconds to set up your WordPress website. Once done, you’ll see the following screen.
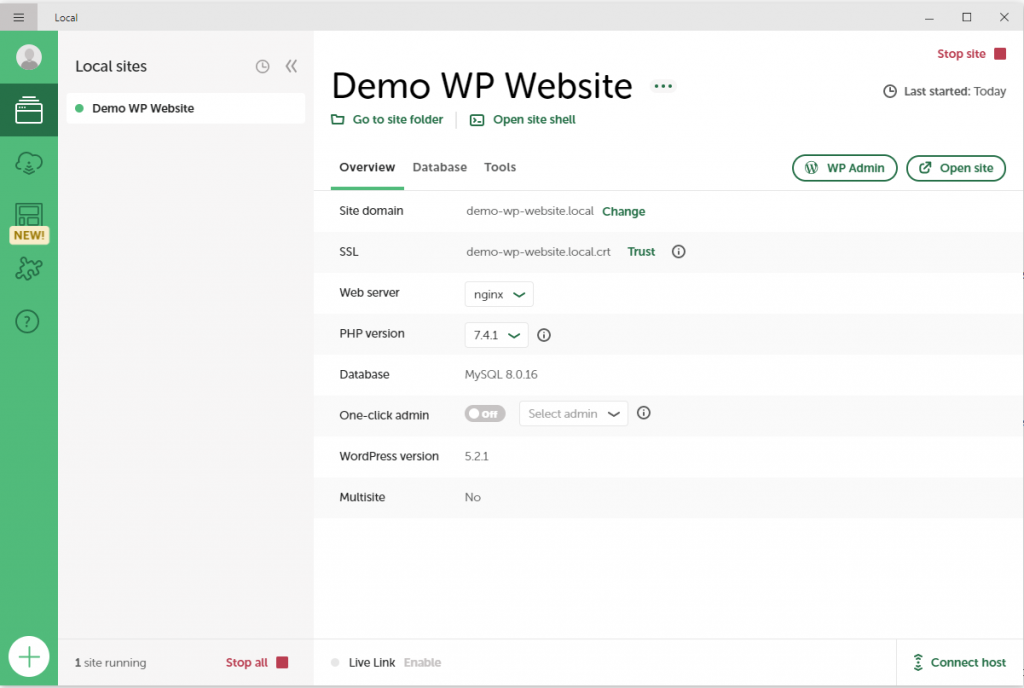
Important, go to the second option SSL. Click on the ‘Trust’ link next to it to enable SSL certificate for your WordPress installation. This creates a local SSL certificate so that your browser allows your website to load. If you skip this step, you may face issues in browsers like Google Chrome or Safari.
That’s all. You’ve now installed WordPress on your computer.
You can start/stop the website by clicking the red button on the top right/bottom left of the screen.
Click on the ‘WP Admin’ button on the top right of the screen to login into your WordPress admin dashboard. If the screen asks you for a username/password, this is the same that you had decided earlier while creating your WordPress website in the earlier steps. You can visit your website by clicking on the ‘open site ‘button on the top right of the LocalWP screen.
You may consider exporting this website and hosting it on an actual web server as well to make this website public at a later stage.